May 6, 2026
Wire Wrapping 101
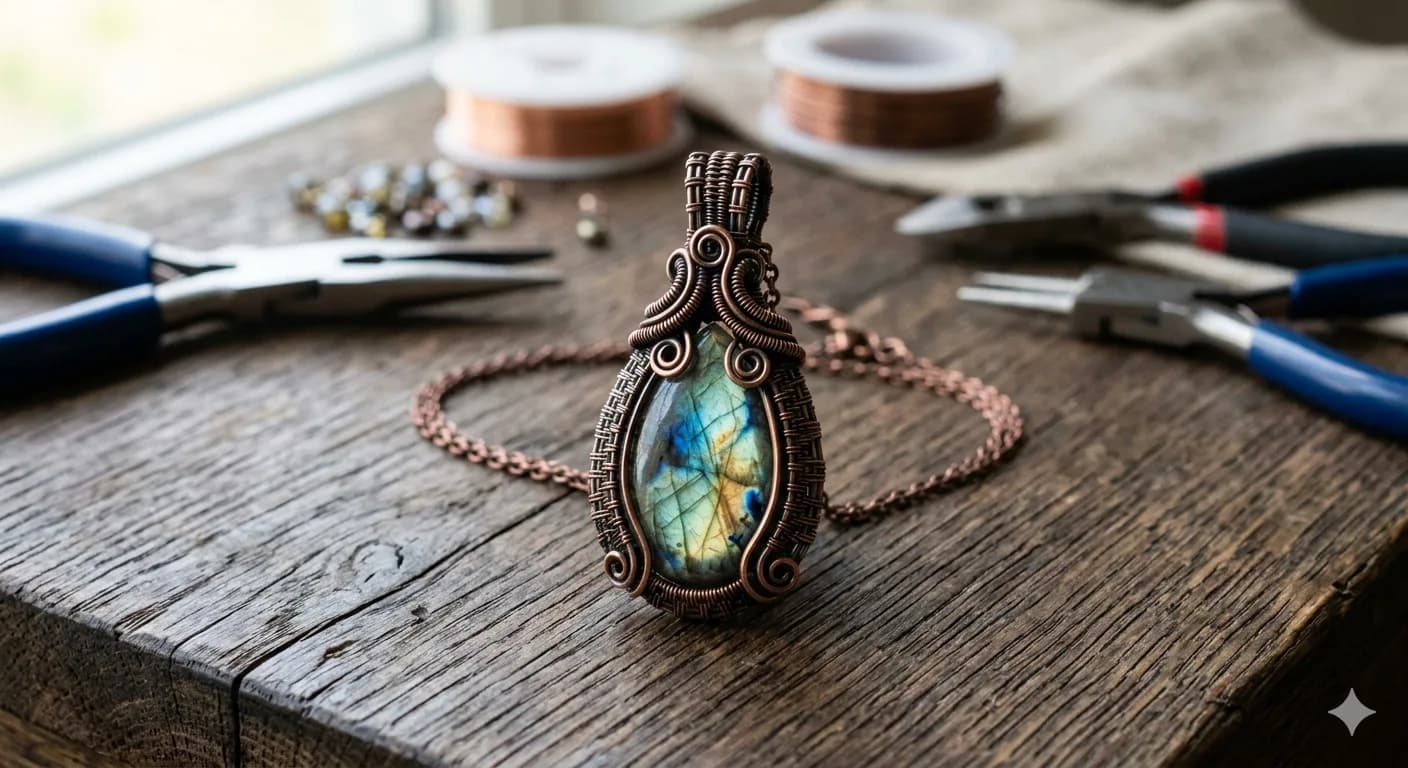
Wire wrapping is a versatile technique that allows you to create intricate jewelry without the need for soldering or heavy machinery. Here are three fundamental tips to help you achieve a professional, polished finish:
Choose the Right Wire Temper
Wire comes in different levels of hardness, known as "temper," and choosing the right one is crucial for your specific task:
Dead Soft: This wire is extremely pliable and easy to bend with your fingers. It is perfect for intricate weaving and wrapping around stones.
Half-Hard: This has more "spring" and holds its shape much better. Use this for structural elements like ear wires, clasps, or the base frames of a pendant.
Pro Tip: Avoid "Full-Hard" wire starting out, as it is very difficult to manipulate and can snap if bent too sharply.
Protect Your Wire with Nylon Jaw Pliers
Metal tools can easily mar, scratch, or "nick" the surface of your wire, especially if you are using silver-filled or plated wires.
Use nylon-coated pliers when straightening wire or pulling it through a tight wrap.
If you don’t have nylon pliers, you can wrap the tips of your standard metal pliers with a bit of electrical tape or painters' tape to create a soft buffer. This keeps your finished piece looking smooth and professional.
Master the "Flush Cut"
To prevent your jewelry from snagging on clothing or scratching skin, your wire ends must be cut perfectly flat.
Most side cutters have a flush side (flat) and a beveled side (angled). Always face the flat side toward the part of the wire you are keeping.
After cutting, use your chain-nose pliers to gently "tuck" the end of the wire into the design so it is hidden and smooth to the touch.
Bonus Tip: Practice your "work hardening." As you manipulate wire, it naturally becomes stiffer. You can intentionally harden a finished loop by gently tapping it with a plastic or rawhide mallet on a steel block to ensure the jewelry maintains its shape over time.